# RoMonitor Stats
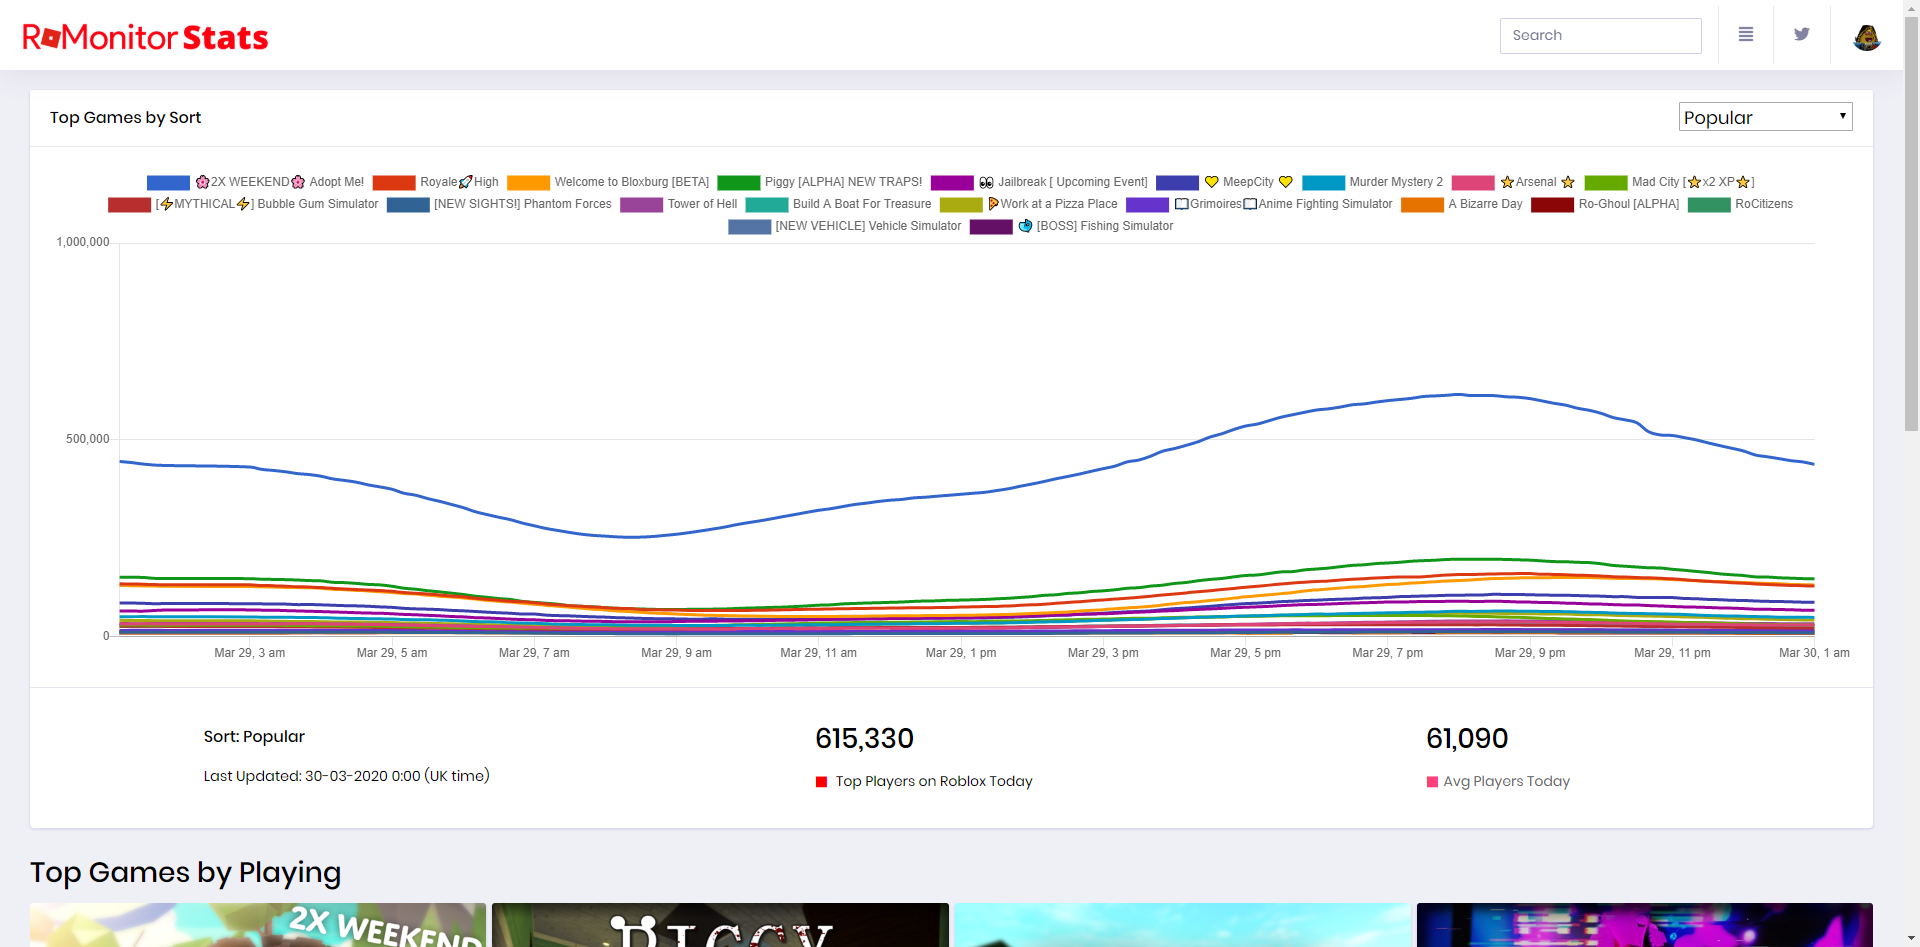
RoMonitor Stats is our free public analytics platform that works alongside your RoMonitor Dashboard.

# Keeping Players Updated
The update logs you create on your RoMonitor Dashboard will be displayed on RoMonitor Stats, this allows players who want to learn more about your game find out the latest updates all in one place.
# Milestones
Milestones are a great way to celebrate your games successes, if you hit a visit milestone for your game the official RoMonitor Stats Twitter account will automatically Tweet it out for you to share with your Twitter followers. We'll even tag you in the post depending if you've set your games social links correctly.
Check out the RoMonitor Stats Twitter
# Wallboard
RoMonitor Stats Wallboard is an easy way to display game statistics on a static display.
# Wallboard - Raspberry PI Installation
RoMonitor Stats Wallboard is most commonly used with displays attached to Raspberry PI's. Raspberry PI's are relatively cheap (35 US / GBP / EUR) to purchase and are great for a lot of automation tasks.
Here's how to setup your Raspberry PI to display your wallboard.
# 1. SSH into your Raspberry PI
Firstly, enable SSH if you've not done this before. You can enable it by going through to the Menu > Preferences > Raspberry Pi Configuration > Interfaces and enabling SSH.
You should then launch up a Terminal and run the following command
hostname -I
# Expected Output: 192.168.1.xx 172.xx.x.x
Next, go to the machine you want to remotely access your Raspberry PI on. Most modern operating systems now have SSH built in to their terminals. You can run in the majority of terminals the following.
# Replace after @ with your Raspberry PI's IP address
ssh [email protected]
The default password if you've not changed it should be raspberry.
# 2. Launch RoMonitor Stats Wallboard
The following command will launch Chromium in kiosk and app mode making sure the RoMonitor Stats Wallboard app is displayed immersively. Make sure to change {place id} to the game's Roblox place ID you wish to display.
DISPLAY=:0 chromium --kiosk --app=https://stats.romonitor.silicon.digital/game/{place id}/wallboard
If that command fails you may need to run the following commands to install Chromium
sudo apt-get update
sudo apt-get install chromium
If you want to start the RoMonitor Stats Wallboard immediately on system boot you can run the following command.
sudo nano /home/pi/.config/lxsession/LXDE-pi/autostart
# OR: sudo nano ~/.config/lxsession/LXDE/autostart
and then add the following to the bottom of the autostart configration file making sure to replace place_id with the Roblox games place ID you wish to display.
@chromium --kiosk --app=https://stats.romonitor.silicon.digital/game/{place id}/wallboard
To save the autostart configuration do ctrl + x and press y.
To test your new autostart configuration you should restart your Rasperry Pi, this can be easily done through the terminal with the following command.
Note: You will loose connection to your Rasbperry PI and you'll have to reconnect.
sudo restart
